How to Record Screen on iPhone With Sound: 5 Ways

Mahmud Hasan
November 18, 2026
Most iPhone screen recordings fail in exactly one way: they come back silent. The fix takes four seconds, but Apple hides it behind a long-press most people never discover. Here's how to record screen on iPhone with sound — app audio, your voice, or both — and the failures that catch everyone else.
One thing first: a screenshot freezes one frame; a recording captures the whole thing, sound included. If you only need a still image, that's a different tool — the Windows screenshot guide covers the PC side. What follows is the iPhone version, checked against Apple's own support page, updated September 14, 2026.
Two kinds of sound, one hidden toggle
Every silent recording comes down to this: an iPhone recording has two audio sources, and only one is on by default.
App audio is the sound the phone itself makes — game effects, video playback, music, notification dings. The built-in recorder captures it automatically the moment you hit record.
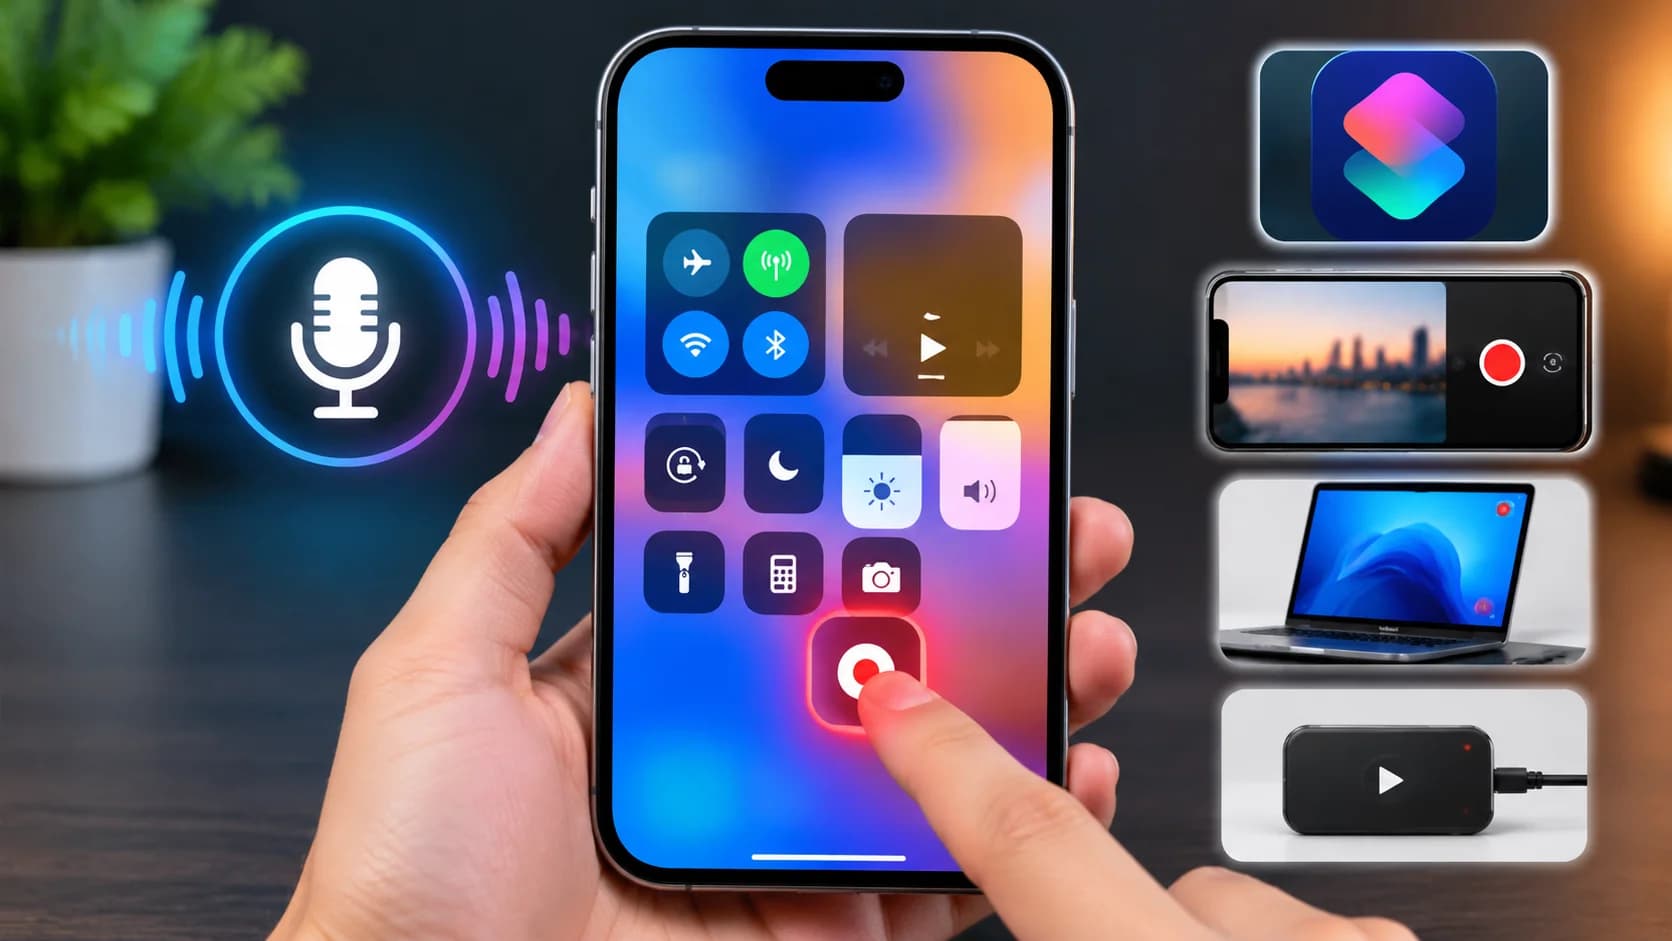
Microphone audio is your voice and the room around you. It is off by default, and it stays off until you turn it on — in a menu Apple doesn't show you unless you press and hold the record button instead of tapping it. That single distinction explains almost every silent recording on the internet.
The two mix into one track — get the toggle right before you start.
Method 1: Record with app audio only
This is the default, and it is the right choice when you don't need to talk over the video — gameplay clips, app demos, showing a bug to support.
First, make sure the button exists. On iOS 26, open Control Center, press and hold an empty part of the background until the controls wiggle, tap Add control, and choose Screen Recording. On older iOS versions the same control lives in Settings > Control Center. You only do this once.
Then open Control Center, tap the record button — a solid dot inside a ring — and wait for the three-second countdown.
To stop, tap the red status indicator at the top of the screen and tap Stop, or open Control Center and tap the red record button again. The video saves to Photos, under Collections > Media Types > Screen Recordings.
Method 2: Add your voice as well
For tutorials or explaining a bug while you show it, you need the microphone too — same steps as Method 1, with one change in the middle:
- Open Control Center and press and hold the record button instead of tapping it. A panel opens.
- Tap the Microphone icon so it turns red and reads "Microphone On."
- Tap Start Recording and wait for the countdown.
Your voice now records alongside the app audio. Two warnings: the microphone stays on until you manually turn it off, so your next recording picks up your voice too — check it before anything confidential. And the mic hears the room, not just you.
Method 3: Clean internal audio, no room noise
Sometimes the microphone is the problem. For a gameplay clip or a music demo with zero background noise, do what Method 1 says and make sure the microphone is off: long-press the record button, confirm the Microphone icon is grey, then start. Leaving it off gives you clean app audio automatically — a deliberate choice, not an accident.
Method 4: FaceTime and video calls
Start the call first, then open Control Center over it and record the same way — the video works, and your voice records if the microphone is on.
The catch is the other person's voice. Apple says some apps might not allow you to record audio, and call audio is the classic case: the built-in recorder does not capture a phone call's audio, and a video call's remote audio is unreliable for the same reason. If the conversation matters, do not rely on screen recording to preserve it. For WhatsApp specifically, backing up the chat is the reliable record; a screen recording is not.
Method 5: Record from a Mac with QuickTime
When the phone itself is the problem — no storage left, or an app that blocks on-device recording — a Mac gives you a second route. Connect the iPhone with a cable, open QuickTime Player, choose File > New Movie Recording, and pick the iPhone as the camera and microphone source. The recording lands on the Mac instead of the phone's storage.
When it goes wrong: silent video, black screen, missing button
The video is silent. Long-press the record button and look at the microphone toggle. If it was off and you wanted your voice, record again; the audio was never captured, so no edit will bring it back. If the mic was on and the video is still silent, the app itself may block audio capture. Apple says so directly, and no setting overrides it.
The video is black but the audio works. That is DRM, not a bug. Netflix, Disney+, Prime Video, Apple TV, and most banking apps deliberately block video capture — the phone shows a black rectangle where the picture should be, and nothing in Settings changes it.
The record button is missing. It was never added to Control Center — see Method 1 — or Screen Time is blocking it. Check Settings > Screen Time > Content Restrictions; on a phone configured by a parent, screen recording is often disabled there. Set it to Allow.
Recording won't start at all. Check whether screen mirroring is active. Apple documents this one explicitly: you cannot record your screen and use screen mirroring at the same time. Stop the AirPlay session first. If nothing explains it, restart the phone.
Two claims from page 1 I could not verify
I read the top results for this search first, and two claims don't hold up against Apple's own documentation. One popular guide says iOS 26 lets you pick Microphone Audio, Internal Audio, or both independently from separate pickers. Apple's support page, published September 14, 2026, shows a single Microphone toggle, and the iOS 26 guides I checked show the same. The separate-picker menu may exist somewhere, but it is not in Apple's documented flow.
Another guide says internal audio only records if the ringer is on. Apple's page says nothing of the sort, and the Ring/Silent switch governs ringtones and alerts, not media audio. A silent recording is a mic-toggle or DRM problem — not the switch on the side of the phone.
After you stop: trim it, find it, watch the storage
Every recording starts with three seconds of countdown and a swipe of Control Center. Trim both off in Photos: open the video, tap Edit, and drag the yellow handles.
And mind the size. Apple puts no time limit on recordings — the only cap is storage — and a minute runs roughly 30 to 50 MB. A ten-minute tutorial is half a gigabyte. Turn on Do Not Disturb before you start, plug in for long sessions, and check you have room before you press record.
The whole skill is one long-press. Tap, and you get the app's sound. Long-press, turn the mic red, and you get your voice too. Everything else is the phone doing exactly what it was told to do, by someone other than you.
References
- Apple Support — Record the screen on your iPhone, iPad, or iPod touch
- Apfelpatient — iPhone Screen Recording: Instructions for iOS 26
- The Tech Gorilla — How To Record Screen On iPhone
- BravoTech — How to Screen Record on iPhone (With Sound)
- Digital Pulse Brief — How to Screen Record on iPhone With Sound
- Setapp — How to screen record on iPhone and iPad
- The Leaker — How to Screen Record on iPhone: No App Needed
Charging before a recording session? Airplane mode does help a little — but the honest gain is a minute or two on a fast charger, and the real lever is the adapter. Why your iPhone charges faster in airplane mode breaks down what the timed tests actually found.
Comments
More in Technology
Why Does iPhone Charge Faster in Airplane Mode?
Airplane mode does help — but not by much. Why iPhone charges faster in airplane mode, what the timed tests actually found, and the trap most guides miss.